Cake pops! (Ugh!)
Ok, so I have to say I kind of have a love/hate relationship with cake pops. I love the concept, I love the ability to upcycle leftover cake and icing, I even enjoy a pop myself every now and then. However, these little buggers continue to frustrate, confuse, and exacerbate me when I take on the task of making them myself.
However, as a self-proclaimed amateur home baker, I had to put an end to buying cake pops for my kids every time I grab drive thru coffee!
After lots of YouTube and blog reading, I finally understood the consistency of melt better this time, accounting for a bit more of my success. I definitely lost a few along the way (aka cake cannonballing into melted chocolate), but was pleasantly surprised when I got into the groove a bit. I used a yellow cake mixed with vanilla buttercream, and hand-mixed (literally, glove-on) until the mixture held shape almost like play-doh. I refrigerated the prepped balls while I melted and tempered my white chocolate chip melts.
If you have the option to buy these in bulk, I highly recommend! They are a lot more cost effective for the same product (thank you Winco!). I mixed in about 1 tsp of coconut oil to help maintain a thinner consistency to aid in dippage.
Once the chocolate was ready, I dipped and set the pop sticks into the balls, and popped them back in the fridge. I wanted to let the chocolate harden enough to minimize the amount of cake balls tempted to slide off.. (see above for the casualties)
The process of dip, tilt, set and sprinkle began! I had to re-warm my chocolate a few times when it seemed to thicken up more (if the ball is pulling more, this can indicate it needs to be re-warmed/thinned out).
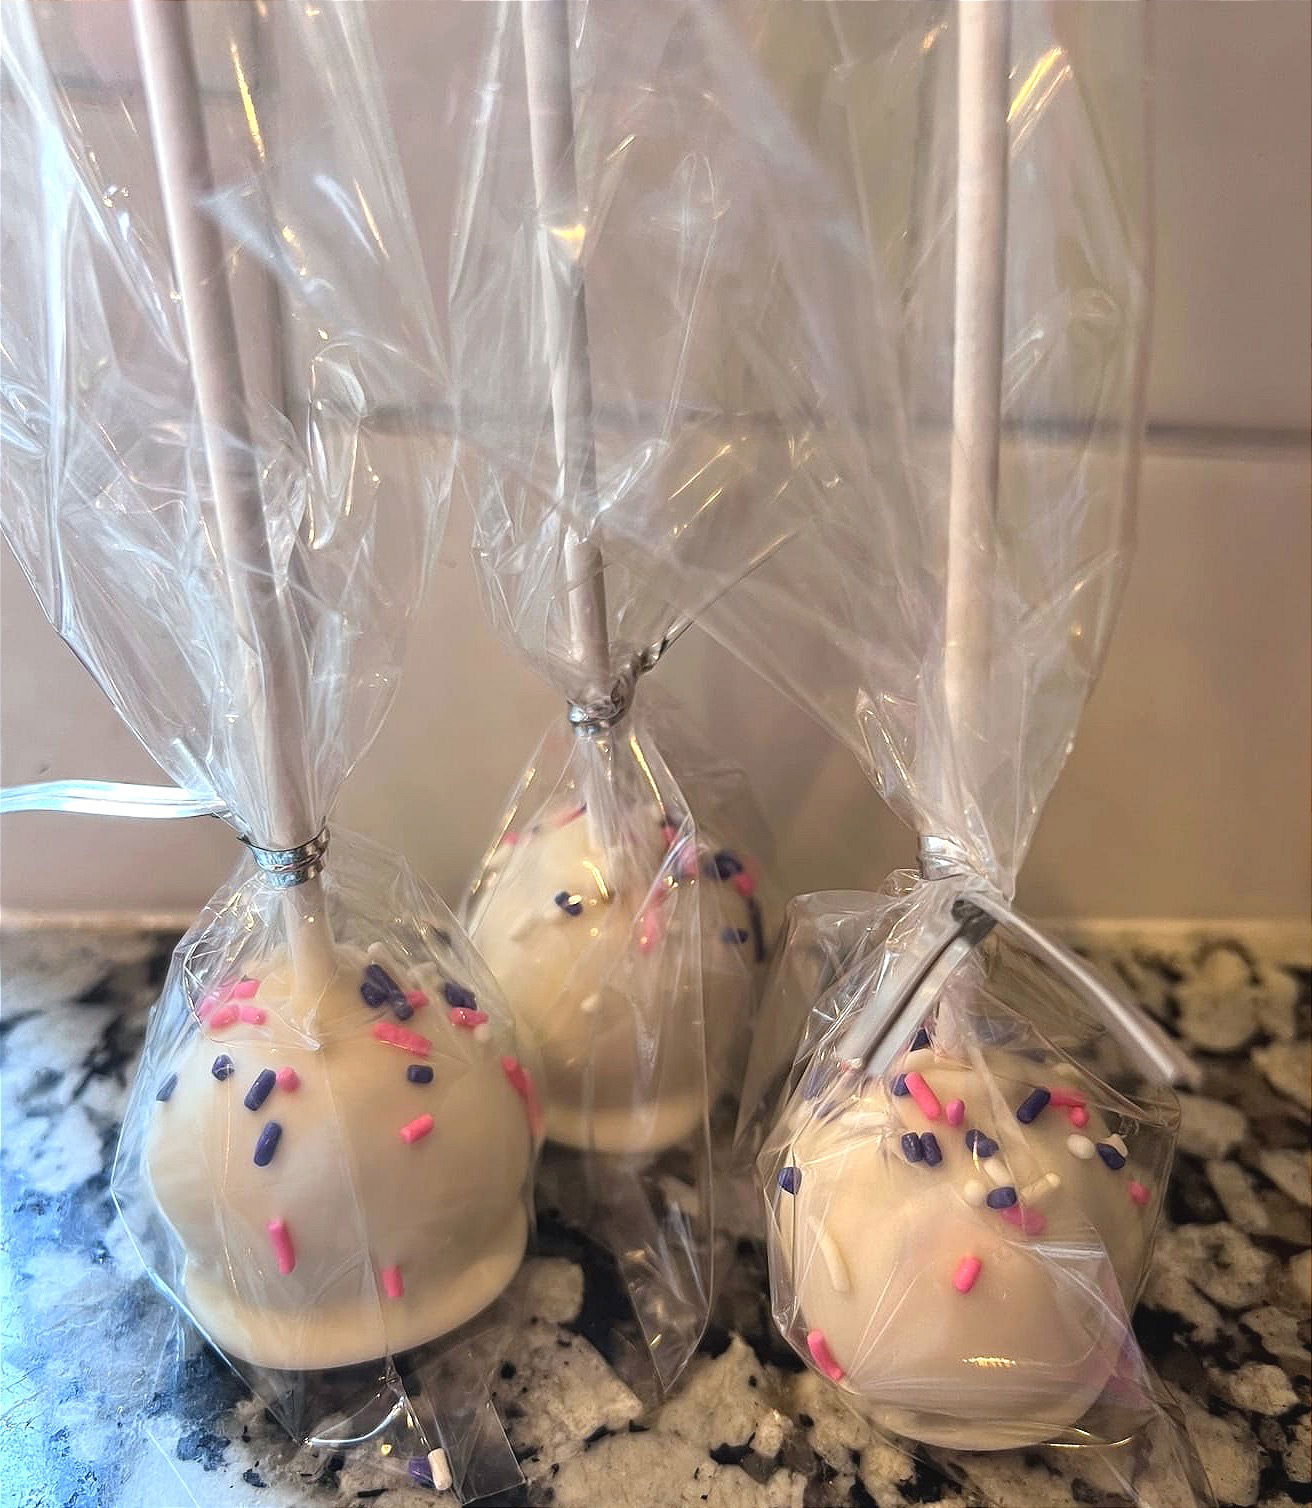
I didn’t have a specific cake pop rack, or even styrofoam (though this is a great option in a pinch), so my cake pops had some flat bums.
All in all, I’m happy with the result, and could definitely serve for a little shower or party!